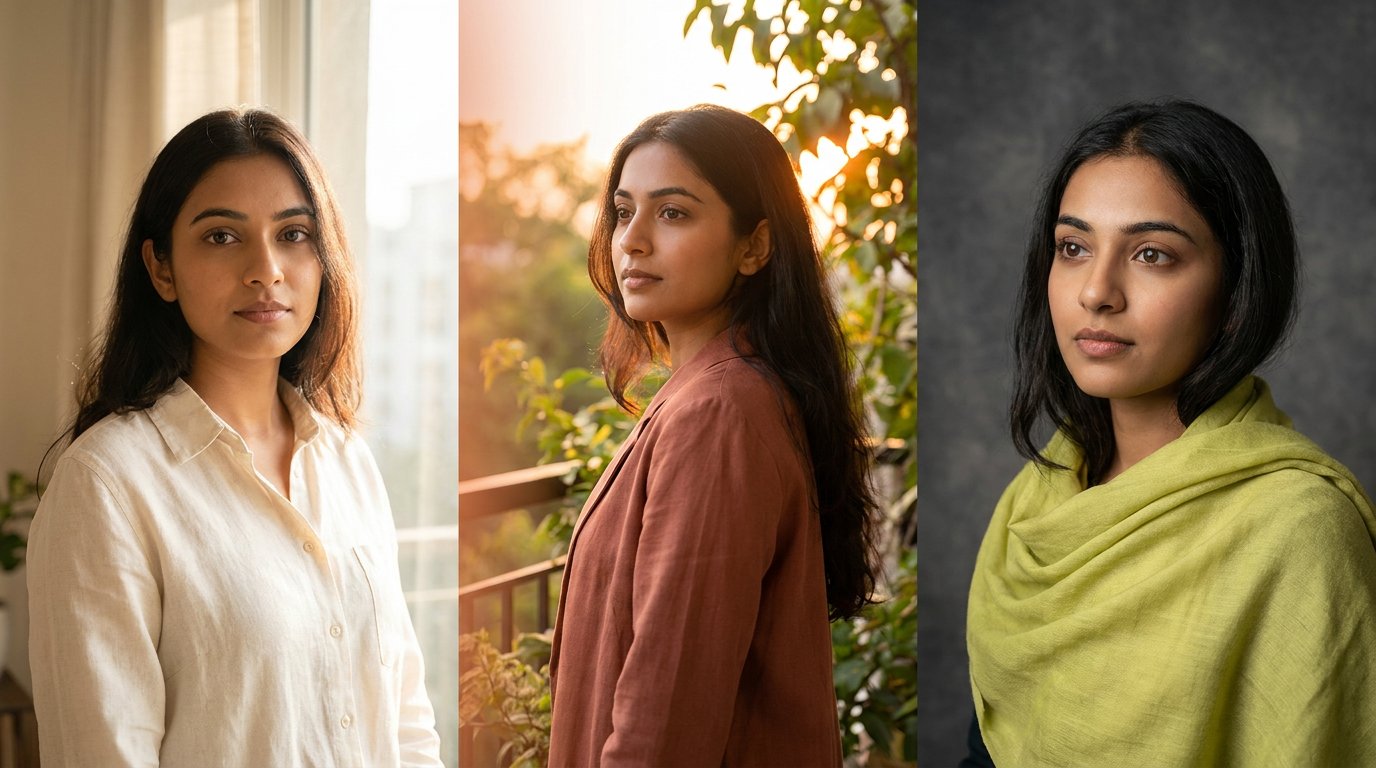
Your best AI portraits can start with a few thoughtfully chosen selfies, each showing a different angle, lighting, or outfit. To learn how to make an AI photoshoot, start with those images, then use a prompt or reference style to shape the mood and setting.
A polished headshot doesn’t require a studio, but your source photos still guide the result. Clear images and a focused visual direction help turn an everyday selfie into a portrait that suits your taste.
Learn how to choose photos, write a prompt, and create portraits, headshots, or personal images with a consistent feel. A few considered choices can give your selfies a fresh look while keeping the result personal.
Key Takeaways
- Choose selfies with a mix of angles, lighting, and outfits to give your portraits more visual variety.
- Shape the result with a clear description of the subject, setting, mood, and style.
- Learn how to prepare photos and move through the steps from selecting a selfie to saving a favorite image.
- Explore Camity’s virtual photoshoots and AI styles for fresh looks made from your photo.
Table of Contents
Generating portraits, headshots, and personalized photos
One selfie can become a polished headshot, a relaxed portrait, or a scene with a studio feel. AI tools combine your photo with a written prompt, reference image, or selected style. Describe a soft, window-lit portrait against a neutral background, or choose a style built around a particular look. Learning how to make an AI photoshoot starts with deciding what you want the image to express.
What are the best AI photoshoot apps and tools in 2026? There isn’t one best choice for every portrait. Compare how tools interpret your source photo, the styles and modes they offer, and the editing controls available for your intended result.
When comparing AI photoshoot apps, consider realism and editing features. Realism depends on how a tool interprets your photo and requested look, while editing features determine how much you can adjust afterward. Review facial consistency, background changes, and whether you can refine a result with another prompt.
Image packs and written prompts shape generated photos in different ways. A pack offers a ready-made visual direction, while a prompt lets you describe details in your own words. Choose a portrait or headshot style, then adjust the mood or background to suit your idea.
To make an AI photoshoot, start with a clear selfie and describe the subject, setting, mood, and style. “Professional headshot, warm natural light, simple background” gives the tool clear direction. A reference image can help maintain a consistent style across a series. Choosing your source photo and prompt is a useful first step.
Can AI-generated photos be used commercially, and what copyright rules apply in the US? Commercial use depends on the tool’s terms, the image’s human contribution, and rights connected to people or reference material. Read the relevant terms before using a generated image in a campaign or business profile.
AI photoshoots can produce inaccurate likenesses, and the way uploaded images are handled matters. A generated face or detail may differ from your selfie, so consider how the selected photo is processed and stored. Keep personal images private when they aren’t needed, and don’t assume an AI portrait is a faithful record. Still images and videos may require different tools, so choose the format that fits your project.
Uploading selfies to create a personal AI model
Some AI photo tools use uploaded selfies to create images featuring your likeness in new settings. To make an AI photoshoot from one photo, start with a clear image that follows the tool’s upload instructions. A personal model can provide a starting point for exploring different scenes and moods. Review how the tool processes and handles your selected photo before uploading it.
A personal model can help make a photoshoot series feel connected. For example, create a profile portrait, a casual image, and a polished headshot with a similar visual direction. Keep the overall mood steady, then change one detail, such as the background or clothing. To make an AI photoshoot feel cohesive, decide which elements should stay consistent.
For brand content, place a portrait in a scene that suits your message. A maker might choose a bright workspace, while a fitness coach could prefer an outdoor setting. Treat generated scenes as creative backdrops, not evidence of a real place or product feature. Keep brand wording accurate, and inspect small details such as signs or labels before sharing.
Themed images leave room to play. Try a retro portrait, a fantasy setting, or a seasonal mood. Describe the theme, clothing, and atmosphere in plain language. For example, “cozy autumn portrait with a knit sweater and amber leaves” gives the image a clear creative direction without piling on unrelated ideas.
- Upload: Select a photo that follows the tool’s instructions.
- Choose: Set a scene, mood, or theme for your images.
- Review: Look closely at facial details, text, and scene elements.
- Save: Keep versions that suit your profile or creative project.
If you want to explore a new look from a selfie, try a personal photo transformation.
Choosing photos with varied angles, lighting, and outfits
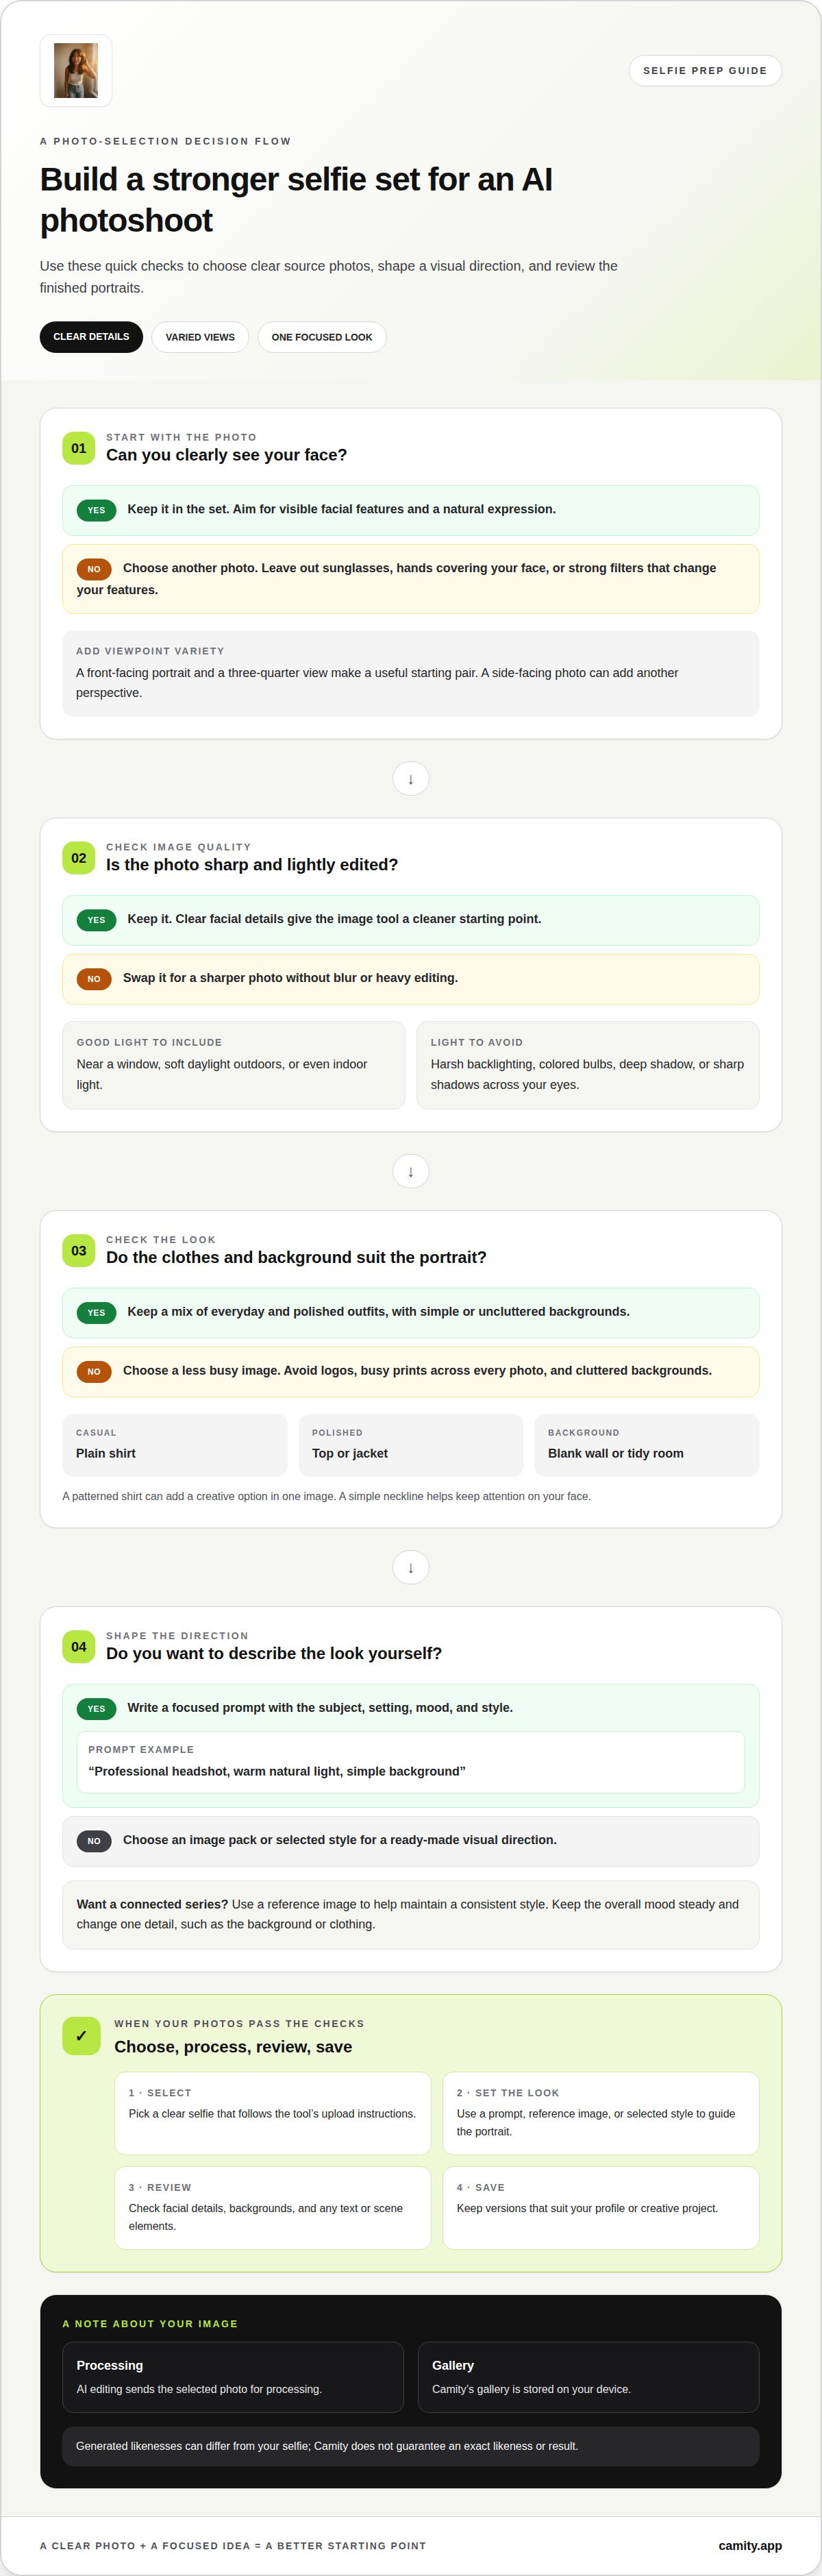
A useful selfie set gives the image model different views of you. Choose photos where your face is clearly visible, then vary the angle gently. Include a straight-on portrait and a three-quarter view. A side-facing image can add another perspective. Keep your expression natural in each photo. Avoid sunglasses, hands covering your face, and strong filters that change your features.
Lighting matters, too. Choose one photo taken near a window, another outdoors in soft daylight, and one in even indoor light. These examples show your face in different conditions without hiding its shape in deep shadow. Avoid harsh backlighting, colored bulbs, and sharp shadows across your eyes. If a selfie is blurry or heavily edited, choose a clearer one.
Outfits help set the mood of a generated portrait. Mix everyday clothing, such as a plain shirt, with a more polished top or jacket. A simple neckline keeps attention on your face. For a creative look, include a patterned shirt in one image, but avoid logos or busy prints across every photo. Choose uncluttered backgrounds, such as a blank wall or tidy room.
- Angle: Choose front-facing and turned views with visible facial features.
- Light: Favor clear details over dramatic shadows or color casts.
- Clothing: Include distinct looks, such as casual and polished outfits.
- Image quality: Use sharp photos without filters, blur, or face coverings.
Before uploading, review your photo set for variety and consistency. Different angles, lighting, and clothing offer visual options, while clear facial details help keep you recognizable. Leave out any photo that looks unlike the others because of a filter or extreme shadow. A thoughtful selection gives your AI photoshoot a cleaner starting point and helps you create portraits with distinct moods.
How do you make an AI photoshoot step by step?
Start with one clear selfie and a visual idea. Then follow the tool’s upload, style, and generation steps. A portrait for a professional profile needs different direction from a dreamy travel scene. Keep your goal in mind as you make each choice.
- Choose your photo. Pick a sharp selfie with your face visible. Avoid strong filters, blur, or objects covering your features.
- Upload the image. Select the photo in the tool and follow its upload instructions. AI editing sends the selected photo for processing.
- Pick a mode or style. Choose a portrait, headshot, or themed look if those options appear. A clean studio style suits a profile image; a fantasy setting feels more playful.
- Write a focused prompt. Describe the subject, setting, mood, and style. For example: “Relaxed headshot, soft window light, simple cream background.”
- Generate the image. Start the creation process and review the result. If the tool offers packs or reference images, use them to guide the visual direction.
- Refine and save. Adjust the prompt or style when the background, clothing, or mood misses your idea. Save a version you like, then try a different setting for contrast.
Make one change at a time when editing. If the lighting feels too dramatic, ask for soft daylight while keeping the outfit and background unchanged. This makes it easier to see which prompt detail shaped the new result. For a consistent set, repeat the same core description and change only the scene or clothing.
Check the final image before sharing. Look closely at facial details, hands, text, and background objects. Generated results can interpret small details unexpectedly, so choose an image that suits your purpose. Keep the original selfie separate from the finished portrait.
Ready to try the steps with your own photo? Create a virtual photoshoot.
Camity: Virtual photoshoots
Camity’s virtual photoshoots turn a photo you choose into creative portraits, headshots, and personal looks. Choose an AI style to guide the mood, then explore variations that feel polished, playful, or somewhere in between. It’s a natural next step when you have a selfie ready and want to try new settings without arranging an in-person shoot.
AI editing sends your selected photo for processing, and your gallery is stored on your device. Generated results can vary, so Camity doesn’t guarantee an exact likeness or a specific result. Review each image and save the looks that suit your purpose.
Have a question about choosing a photo or exploring an AI style? Contact Camity to get started.
Choose the look you want to explore next
Your next portrait doesn’t need a big occasion. It could be a fresh profile image, a playful change of mood, or simply a new way to see a familiar photo. Knowing how to make an AI photoshoot gives you room to shape that idea with intention while leaving space for an unexpected look.
Start with the feeling you want the image to carry. Then decide where you’d use it and which details matter most to you. A clear creative direction makes it easier to choose a result that feels personal, rather than just different. Camity’s team brings a creative eye to virtual photoshoots and AI styles, so you can explore new looks from your own photo.
Ready to turn an idea into a portrait? Contact Camity about your AI photoshoot. Keep it simple, follow your curiosity, and enjoy seeing where your next look takes you.
Frequently Asked Questions
What Is an Artificial Intelligence Photoshoot?
An AI photoshoot uses a digital tool to create or transform portrait images. Instead of arranging an in-person camera session, you guide the image with a photo and creative choices. The result can place a familiar face in a new visual setting. Treat it as an artistic interpretation, not a documentary photo of an event that happened.
Can one photo create different AI portraits?
Yes, depending on the tool, a single source photo can guide several generated looks. Try changing the setting or visual mood while keeping your main idea steady. For example, use one portrait direction for a professional profile and another for a relaxed social image. Review each result on its own, since using the same source photo won’t make every detail identical.
How can you write effective prompts for AI portrait photos?
Give your prompt one clear purpose, then add details that support it. For an author portrait, you might request a quiet library, a thoughtful expression, and soft natural light. Avoid combining unrelated directions, such as “formal business portrait” and “surreal underwater scene.” If the result feels too posed, change the expression or setting rather than rewriting every detail.
How do you upload reference photos and protect your privacy?
Choose a photo you have permission to use, then follow the tool’s upload steps. Before uploading, read the tool’s privacy information to understand how it handles images and what controls it offers. Avoid uploading sensitive documents or another person’s photo without permission. For an initial test, use an ordinary portrait with no private information visible in the background.
How can you make AI photos look natural and avoid common flaws?
Keep the scene believable for the image’s purpose, then inspect the result closely. Check eyes, teeth, fingers, jewelry, and background lettering, especially before using a portrait as a profile image. If a detail looks strange, simplify the scene or adjust one prompt element. Choose an image that looks coherent both as a small thumbnail and at full size.
What are the best AI photoshoot apps and tools in 2026?
There isn’t one best tool for every portrait. Compare how each interprets your photo, the styles and modes it offers, and the editing controls available for your intended result.